
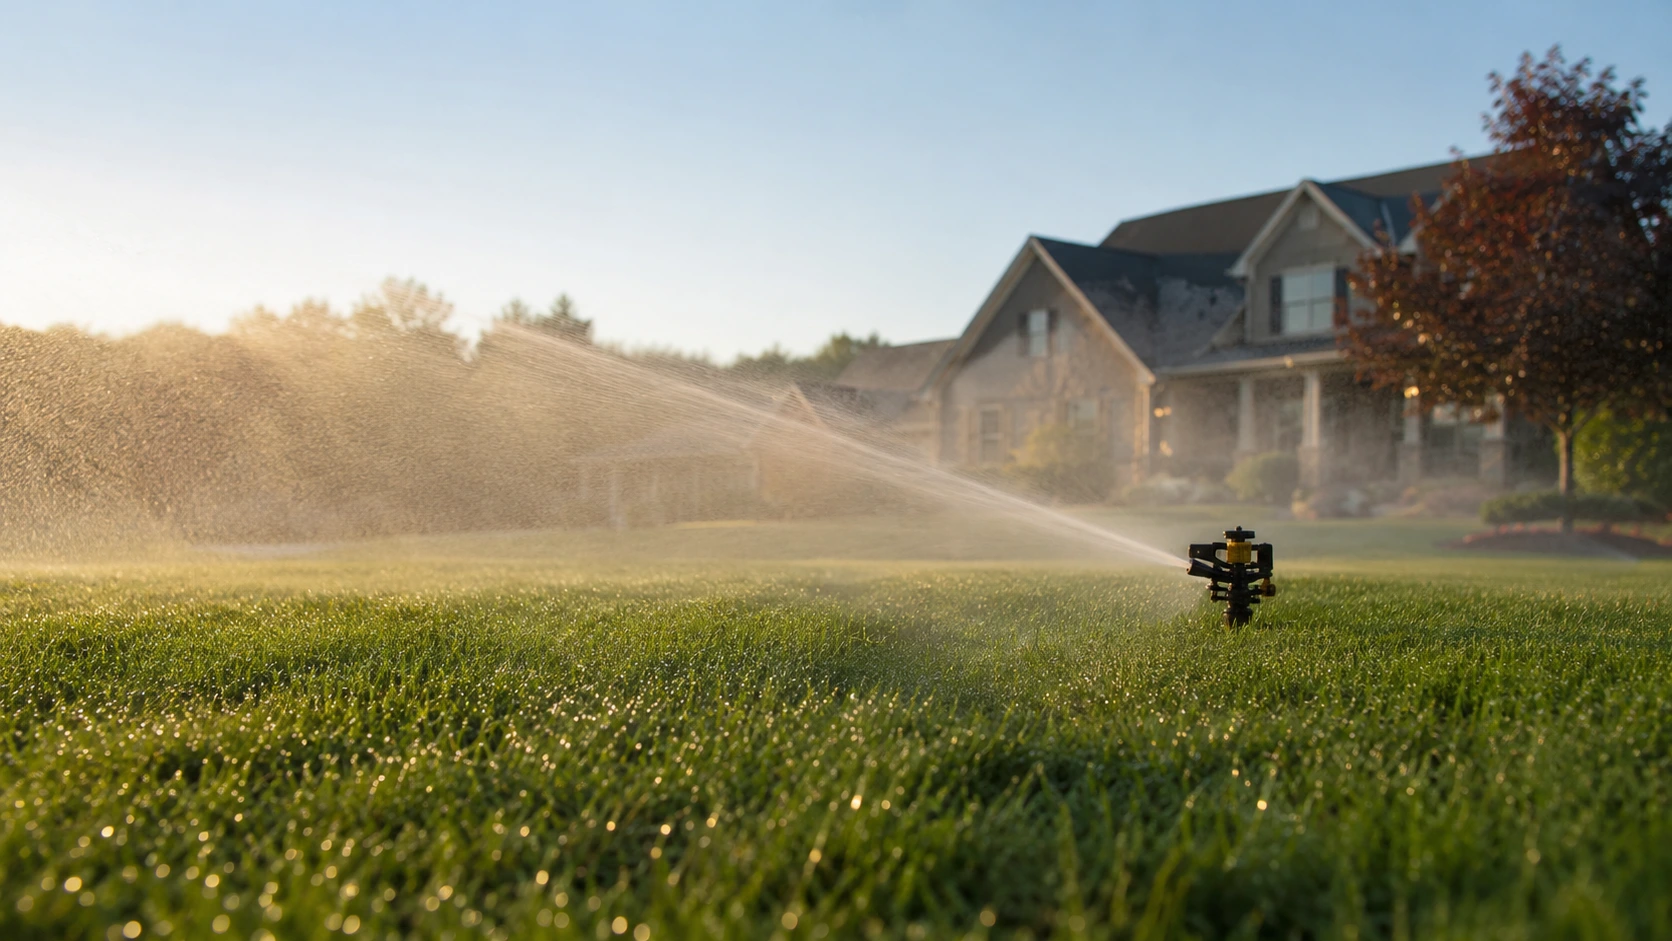
New sod needs to stay constantly moist, but not flooded, for the first 14 days. Water your yard 2 to 3 times a day for about 15 to 20 minutes per zone to prevent the sod slabs from shrinking. Once the roots grab the topsoil—usually by week three—you can reduce watering to once a day and prepare for your first high-deck mow.
Identification Guide
You need to monitor the physical condition of your new grass daily to ensure it establishes properly. A healthy installation looks drastically different from a failing one.
- The Pull Test: Gently tug on a handful of grass blades. If the sod slab lifts effortlessly like a heavy blanket, the roots haven’t tacked down. Resistance means roots are digging into the soil.
- Seam Separation: Check the lines where the sod rolls meet. Gaps larger than a quarter-inch mean the slabs are losing moisture rapidly and shrinking. This exposes the vulnerable edges to the sun.
- Color Shifts: A slightly grayish-blue tint indicates severe dehydration. Deep green means adequate moisture. Yellowing blades often signal too much water suffocating the plant.
- Mushy Footprints: Step on the lawn. If water squishes up over your shoes or leaves deep, muddy indentations, you are overwatering and risking root rot. The ground should yield slightly without turning into mud.
Root Causes
New sod lacks a deep root system to pull moisture from the earth. Every roll is essentially a severed plant trying to survive on a thin layer of dirt. When temperatures spike above 85°F, the shallow root mass dries out rapidly, baking the plant from the top down.
Poor soil contact also kills new grass. Air pockets left under the sod rolls prevent roots from anchoring. I see this constantly when folks throw sod over unprepared, compacted clay. If the roots hit a hardpan layer, they stop growing and sit on the surface. High winds also accelerate evaporation, pulling moisture right out of the grass blades faster than a weak root system can replace it from below. Furthermore, failing to stagger the seams during installation allows dry air to channel through the gaps, drying out multiple pieces simultaneously.
Step-by-Step Solution
Your primary job for the first month is moisture management. Follow this exact schedule to lock in your investment.
- Week 1: The Soak PhaseWater the yard three times a day—typically at 8 AM, 1 PM, and 4 PM. Aim for about 0.25 inches of water per session. The goal is a sponge-like consistency in the top 2 inches of soil. Set out tuna cans or a rain gauge to measure your sprinkler output. Do not guess the volume. Stay off the grass entirely. Keep dogs and kids off the soft ground.
- Week 2: Deepening the RootsCut watering back to twice a day. Increase the duration slightly so the water penetrates 3 to 4 inches deep. This trains the young roots to chase the moisture downward instead of staying near the surface. Perform the pull test at the end of the week. You should feel noticeable resistance.
- Week 3: The TransitionDrop your irrigation to once a day, early in the morning. Apply about 0.5 inches of water. The grass will likely look overgrown, but resist the urge to cut it if the ground is still soft.
- Week 4: The First MowTurn off the sprinklers 24 hours before cutting. Set your mower deck to its highest setting—never remove more than one-third of the blade length. Use sharp blades. A dull mower will rip the tender plants right out of the soil. Bag the clippings for this first cut to keep the surface clear and prevent suffocating the new grass.
- First FeedingApply a starter fertilizer (like Scotts Turf Builder Starter Food) at a rate of 3 lbs per 1,000 sq ft after the first mow. Using a broadcast spreader guarantees even coverage. The high phosphorus content pushes aggressive root expansion. Water it in immediately to prevent chemical burn on the fresh blades. Avoid high-nitrogen blends right now, as they push top growth instead of the root establishment you desperately need.
Professional vs. DIY
Laying and maintaining sod is labor-intensive. Decide if you have the time to baby the lawn for 30 days.
| Factor | DIY | Professional |
| Cost | $$ | $$$$ |
| Speed | Weeks | Days |
| Effectiveness | Moderate | High |
| Risk | High (if watering fails) | Low |
DIY sod care demands absolute rigid adherence to a watering schedule. If you work long hours and lack an automated sprinkler system, you risk losing the entire yard to heat stress. Hand-watering a 5,000 sq ft yard takes hours you might not have.
Professional landscaping crews handle the heavy lifting, properly grade the topsoil, roll the seams tight, and guarantee the grass taking root. Hiring a pro like TruGreen for post-installation care ensures accurate fertilizer timing and early disease detection. If your irrigation isn’t perfectly dialed in, bringing in a tech saves thousands in replacement costs.
Common Misdiagnosis
Folks frequently mistake drought stress for Brown Patch fungus. Both create irregular brown circles in the yard.
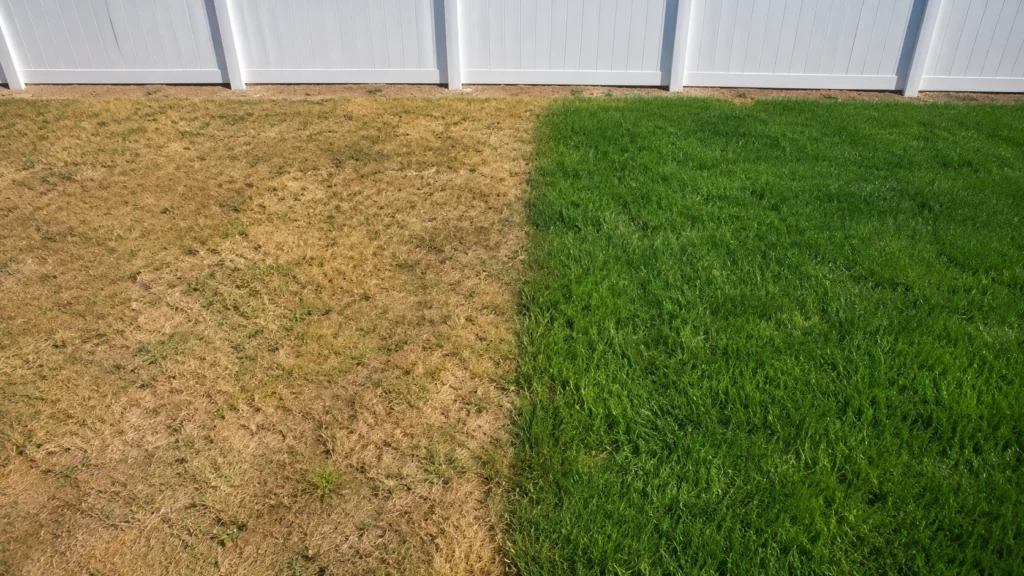
Check the borders of the dying spot. Fungus often features a distinct dark ring (the “smoke ring”) around the dead patch, and you will spot cotton-like mycelium in the early morning dew. Drought stress simply turns the grass brittle and gray-brown, typically starting along the edges of the sod slabs or near concrete sidewalks that radiate heat. I’ve seen yards drenched with expensive fungicides (like BioAdvanced Fungus Control) when the issue was just a broken sprinkler head causing a dry spot. Always check soil moisture with a 6-inch screwdriver before assuming disease. If the metal shaft won’t penetrate the soil easily, you have a dry spot, not a fungus.
Prevention Tips
Start with the soil. Apply a layer of topsoil mixed with compost before laying a single roll. Rough up the existing dirt with a metal rake so the new roots have something to grab onto.
Never stretch the sod slabs to make them fit. Butt the edges tightly against each other, staggering the joints like a brick wall pattern. Stretched sod shrinks aggressively as it dries, leaving massive gaps that invite crabgrass and broadleaf weeds to invade. Use a heavy lawn roller filled halfway with water immediately after laying the sod to eliminate hidden air pockets and force direct soil-to-root contact across the entire yard. This single step prevents 90% of rooting failures.
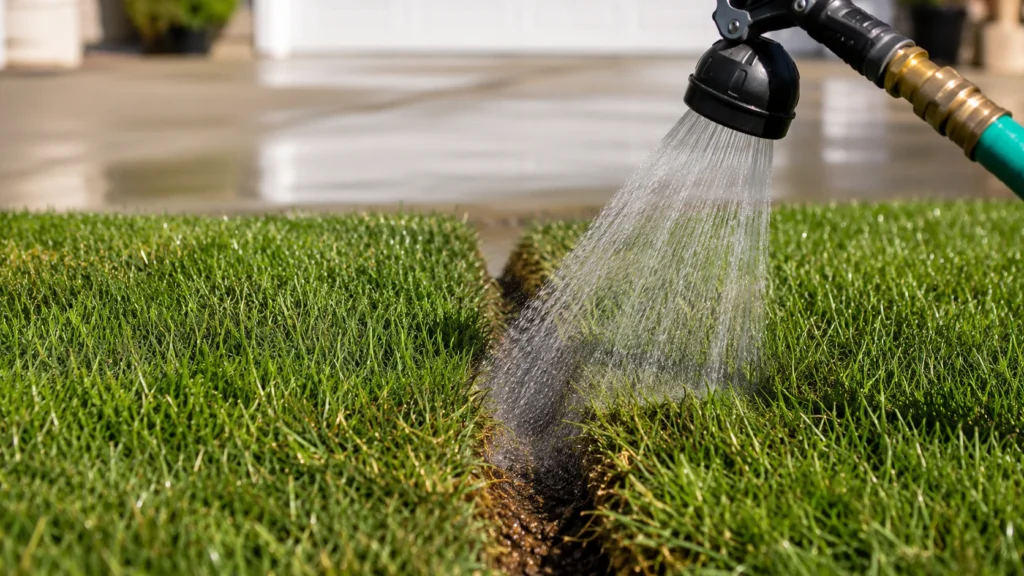
Pro-Tips Box: Most people ignore the edges of their yard along driveways and sidewalks. Concrete absorbs heat and bakes the adjacent soil, drying out the perimeter sod twice as fast as the center of the lawn. Hand-water these edges with a hose every evening during the first two weeks, even if your sprinklers hit them. Also, hold off on applying any pre-emergent herbicides like Prodiamine or Pendimethalin for at least six months. These chemicals inhibit root cell division and will permanently stunt your new grass.
People Also Ask
How long does it take for new sod to root?
Shallow roots begin to anchor into the topsoil within 10 to 14 days. A complete, deep root system that can withstand normal foot traffic and drought stress takes about four to six weeks to fully establish.
Can you overwater new sod?
Yes. Puddles and standing water suffocate the roots, creating a prime environment for Pythium blight and root rot. The soil should feel like a damp sponge, not a muddy swamp.
When should I fertilize new sod?
Apply a phosphorus-rich starter fertilizer about four weeks after installation, right around your first mow. Avoid heavy nitrogen applications early on, as this pushes blade growth over root development.
What to Read Next
Establishing a thick, resilient yard doesn’t stop once the roots grab hold. Proper maintenance practices ensure the soil stays healthy year-round, which is why knowing exactly when should you aerate your lawn prevents the compaction that ultimately kills mature grass.