
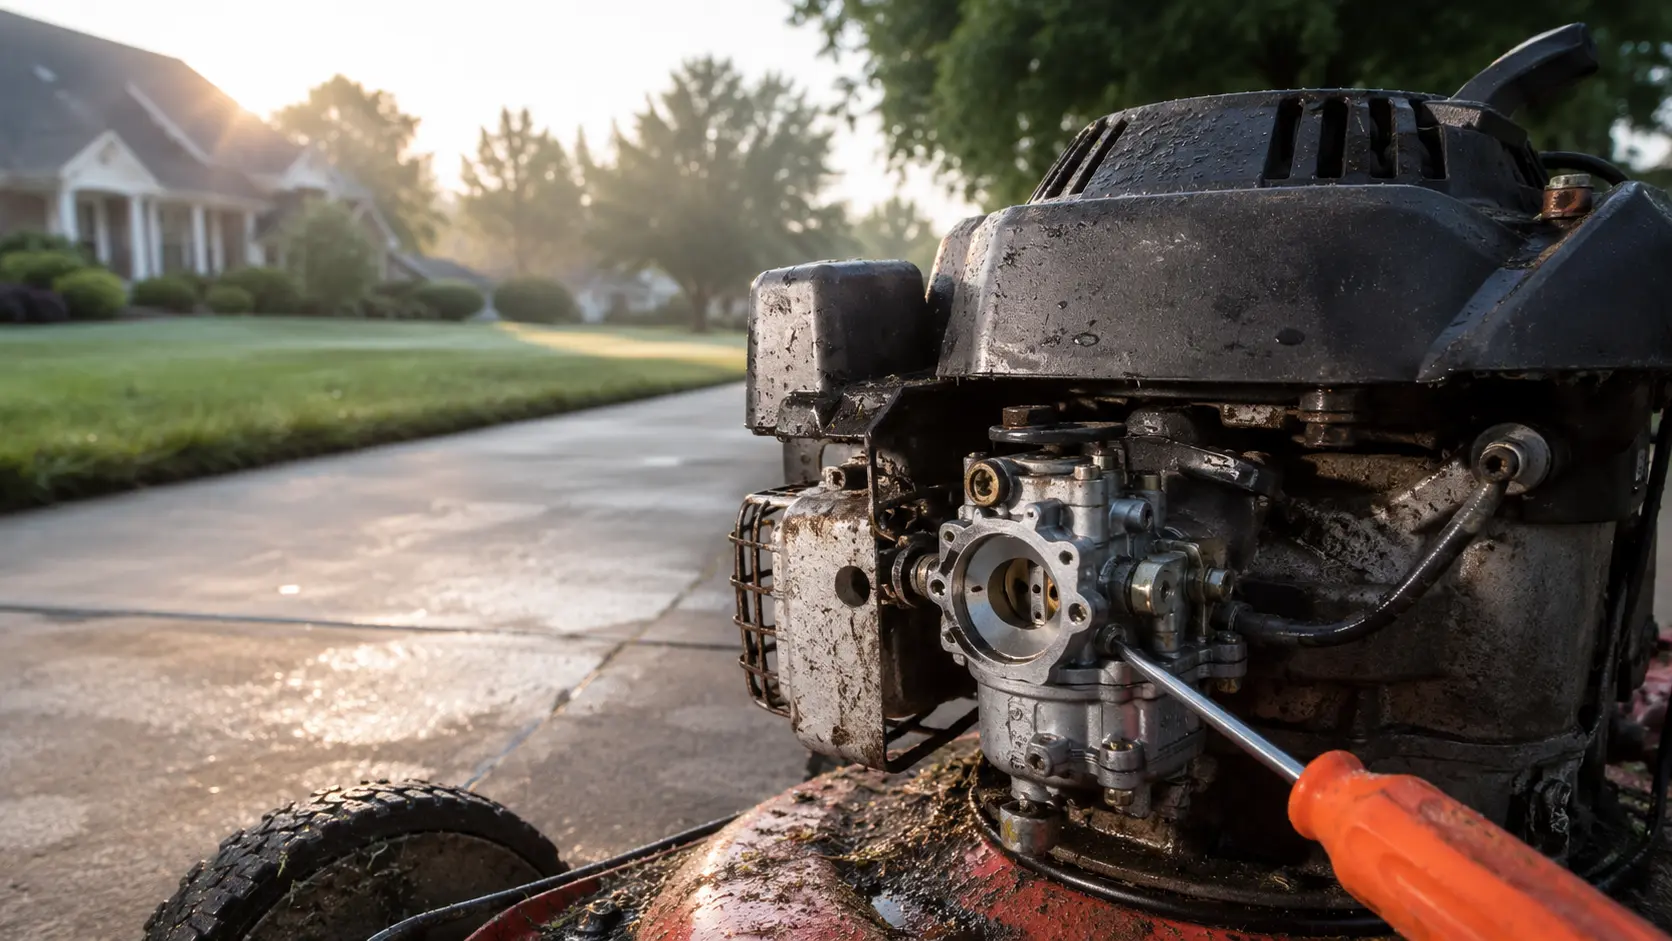
Adjusting a lawn mower carburetor requires locating the mixture and idle screws, turning them clockwise until they gently seat, and then backing them out 1 to 1.5 turns to establish a baseline setting. Once the baseline is set, you start the engine and fine-tune the screws in 1/8-turn increments until the mower runs smoothly without sputtering, surging, or stalling under a load. A poorly adjusted carburetor disrupts the air-to-fuel ratio, causing engines to run too rich (wasting fuel and smoking) or too lean (overheating and dying).
Required Tools & Materials
You don’t need a mechanic’s tool chest to fix a rough-running mower. Before you touch the adjustment screws, make sure you have the following ready:
- Flathead or Phillips screwdriver: Sized specifically to fit your carburetor’s adjustment screws without stripping the heads.
- Carburetor cleaner spray: Standard aerosol cleaners like Gumout or Berryman B-12.
- Spark plug wrench: For pulling the plug to read the engine’s current air/fuel mixture.
- Clean shop rag: To wipe away heavy grease around the throttle linkage.
- Fresh, ethanol-free gasoline: Never try to tune a carburetor using old fuel.
The Execution: Tuning Your Carburetor
I frequently see homeowners throw away perfectly good mowers because the engine starts surging. Nine times out of ten, the air-to-fuel ratio is just out of balance. Here is exactly how you dial it back in.
Step 1: Prep the Engine and Find the Baseline
Never tune a cold engine with dirty filters. Remove your air filter and inspect it; if it is clogged, replace it, because restricted airflow forces the engine to run rich.
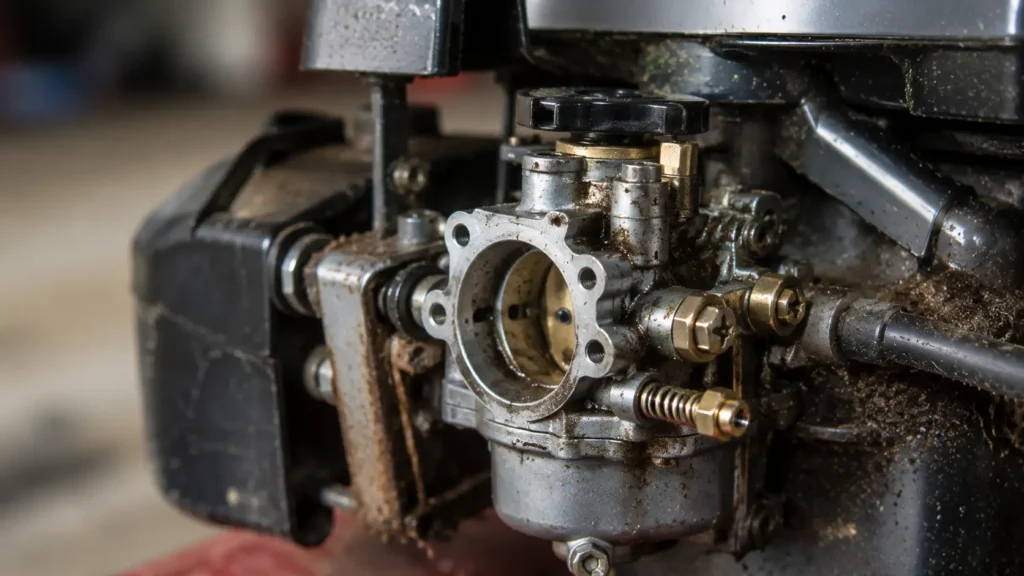
With the engine off, locate the adjustment screws on the side of the carburetor bowl. Most older or adjustable models have two screws: a mixture screw (controls fuel) and an idle speed screw (usually rests against the throttle linkage with a visible spring). Take your screwdriver and turn the mixture screw clockwise. Stop the exact second you feel resistance.
Back the mixture screw out counterclockwise exactly 1.5 turns. This is your factory baseline setting. It won’t run perfectly here, but it will start.
Step 2: Fine-Tuning the Fuel Mixture
Start the mower and let it run for about five minutes to reach normal operating temperature. Engage the throttle to maximum speed (rabbit icon).
Listen to the engine. Turn the mixture screw clockwise in tiny, 1/8-turn increments. You will hear the engine start to sputter and die—this means it is running too lean (starved for fuel). Note this position. Now, turn the screw counterclockwise past your baseline until the engine sound drops and begins to sound rough and heavy—this means it is running too rich (drowning in fuel).
Set the screw exactly halfway between the “lean drop-off” and the “rich drop-off”. Give the engine 10 seconds to catch up to your adjustment. It should now sound smooth and consistent.
Step 3: Setting the Idle Speed
Move the throttle down to the idle position (turtle icon). If the engine stalls out immediately, your idle is set too low.
Locate the idle adjustment screw (the one with the spring). Turn it clockwise to increase the engine speed. You want the mower to idle smoothly without shaking the deck apart. If the mower vibrates violently, back the screw out slightly.
Seasonal Timing & Conditions
The most critical time to adjust your carburetor is early spring, right before your first major mow of the season. Temperature fluctuations and changing humidity levels directly impact air density, which shifts your optimal air-to-fuel ratio. If you tuned your mower perfectly during a 95°F August heatwave, it will likely run lean during a 55°F spring morning.
Mid-season adjustments are only necessary if you notice a sudden drop in RPMs when the mower hits thick grass. Do not attempt to adjust a carburetor on a rainy day or immediately after pulling the mower out of winter storage. Stale fuel mimics carburetor tuning issues. Always drain the old gas, fill the tank with fresh fuel, and let it run for ten minutes before touching any screws.
Common Mistakes & Wasted Money
The biggest mistake you can make during this process destroys the carburetor entirely. The adjustment screws seat against a soft brass opening inside the carburetor body. If you forcefully crank the screw down clockwise until it stops hard, you will score and widen that brass seat. Once that metal is damaged, the carburetor will never hold a tune again, and you will have to buy a $40 to $80 replacement block. Always turn the screws gently.
Another frequent error is trying to tune a carburetor that is fundamentally clogged. If your mower has been sitting for six months with untreated ethanol gas, the main jet inside the bowl is likely coated in varnish. No amount of screw turning will fix a physical blockage. You are wasting your time adjusting a dirty carb; spray it out with carb cleaner first.
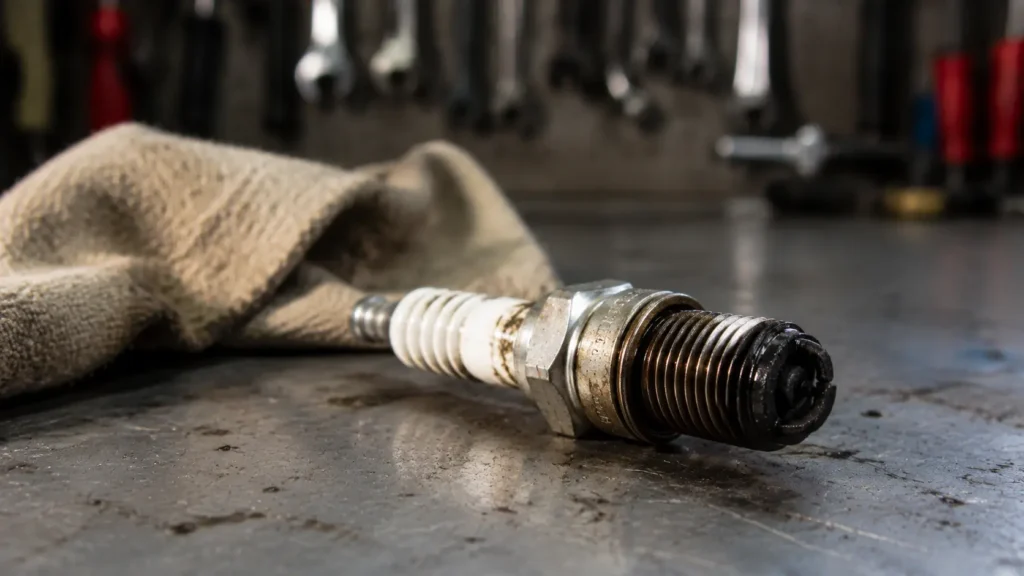
Pro-Tips Box: If you aren’t sure if your tuning was successful, pull the spark plug after 30 minutes of mowing. Read the tip. If the ceramic insulator is coated in dry, black soot, your mixture is still too rich (turn the screw in 1/8 turn). If the tip is blistered white, you are running too lean and risking engine damage (back the screw out 1/8 turn). A perfectly tuned carburetor leaves a light tan or grayish-brown color on the plug.
Professional vs. DIY
| Factor | DIY Carburetor Tuning | Professional Small Engine Shop |
| Cost | Free (or $5 for carb cleaner) | $50 – $100 |
| Speed | 10 – 15 minutes | 1 – 2 weeks (shop backlog) |
| Effectiveness | High for minor surging | Perfect for rebuilt carbs |
| Risk | Stripping the brass needle seat | Paying for unnecessary parts |
If your mower surges rhythmically, sputters under load, or dies when you hit tall grass, you should absolutely adjust the carburetor yourself. It takes a screwdriver, an ear for engine pitch, and a few minutes in your driveway.
Take the mower to a professional if adjusting the screws has zero effect on the engine’s RPMs, or if fuel is physically leaking out of the carburetor bowl onto the mower deck. At that point, the internal float is stuck, or the gaskets have failed, requiring a full rebuild or replacement that a shop can handle quickly.
Prevention Tips
- Use fuel stabilizer: Add a stabilizer like STA-BIL to your gas can the moment you buy fuel at the pump, not months later.
- Run it dry: At the end of the cutting season, start the mower and let it run until it completely dies. Leaving a carburetor dry prevents varnish buildup.
- Avoid high-ethanol fuel: Stick to E10 or lower. Better yet, buy ethanol-free recreation fuel if available in your area. Ethanol absorbs moisture from the air, corroding the tiny brass jets inside your carburetor.
- Clean the air filter: Tap out your paper air filter after every three mows. A choked engine pulls a heavier vacuum on the carburetor, throwing off your mixture.
People Also Ask
Why does my lawn mower only run on choke?
If your mower dies the moment you turn off the choke, the main jet inside the carburetor is likely clogged. The engine is starving for fuel, and the choke forces it to pull a richer mixture to stay alive. This requires thorough cleaning rather than adjusting.
Can I use WD-40 to clean my carburetor?
No. WD-40 is a water displacement lubricant, not a heavy-duty solvent. It will not dissolve the hardened gas varnish clogging your jets. Always use a dedicated aerosol carburetor cleaner like Gumout or Berryman B-12 for effective results.
Where are the adjustment screws on a newer Briggs & Stratton?
Many modern mowers built after recent EPA emissions regulations no longer have adjustable mixture screws. They use fixed-jet carburetors to control the air-to-fuel ratio. If yours lacks screws, you must clean or replace the internal jets to alter fuel flow.
What to Read Next
Dealing with old fuel and sitting engines creates a whole host of mechanical issues, which is why knowing exactly what to do when your lawn mower won’t start after sitting all winter will save you a trip to the repair shop next spring.