
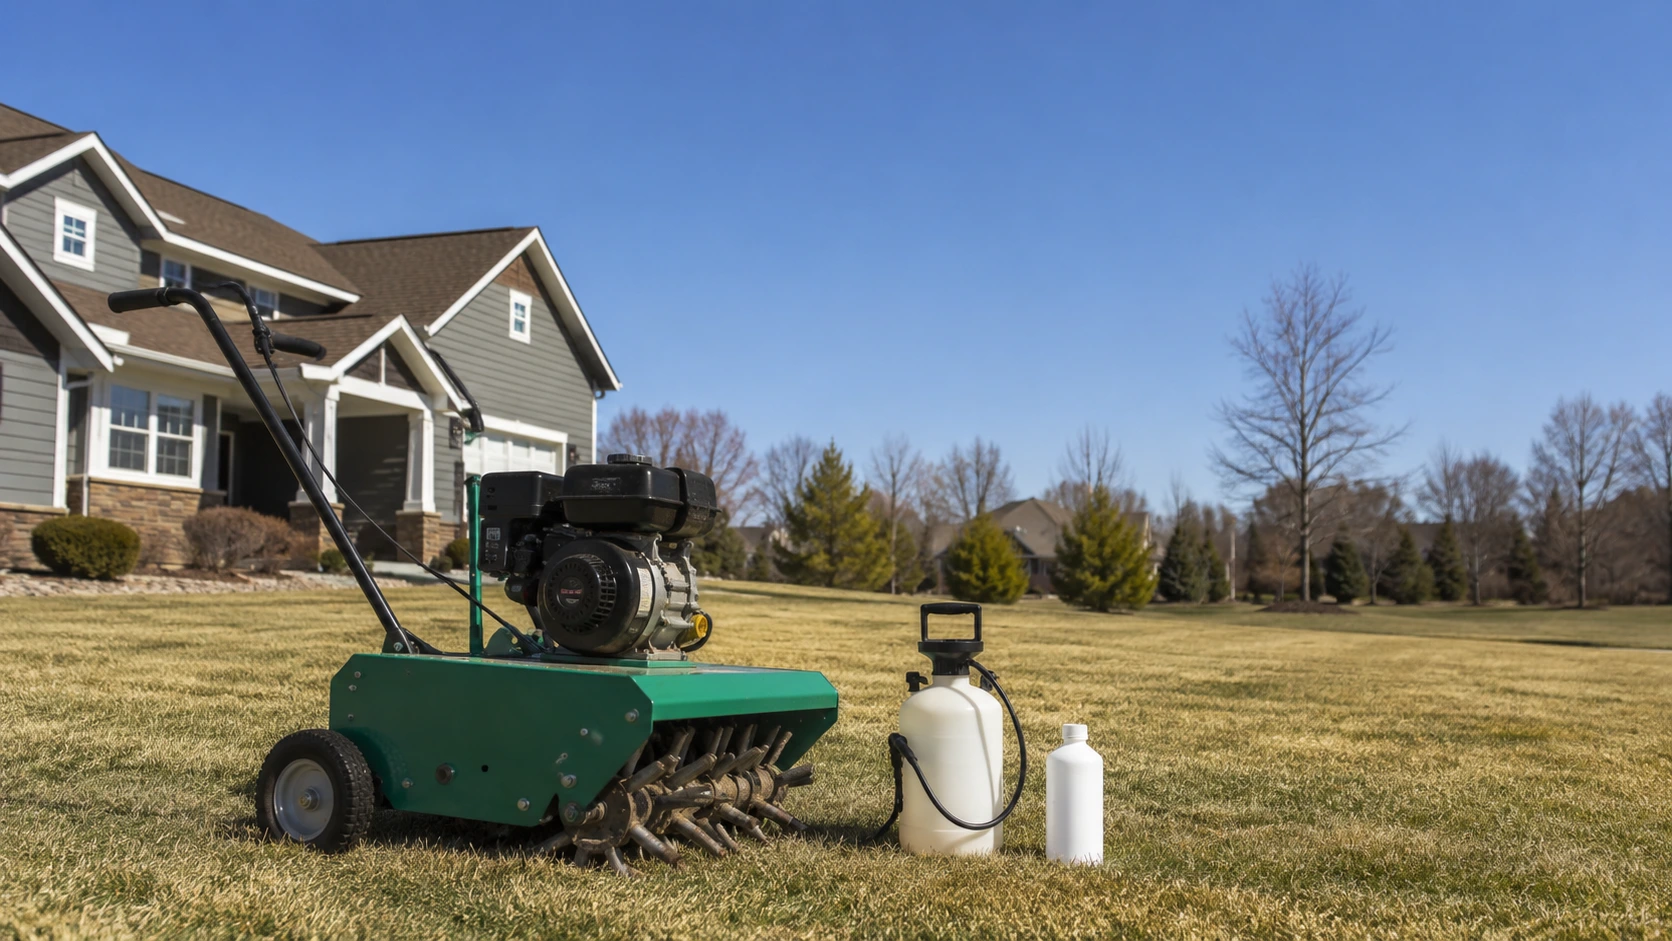
Core aeration physically pulls 2- to 3-inch soil plugs from the ground to immediately relieve severe compaction and break through thick thatch layers. Liquid aeration uses humic acids and soil penetrants to microscopically fracture soil structure over time, making it best suited for mild compaction or ongoing clay maintenance. If you cannot easily push a standard 6-inch screwdriver into your turf, you need mechanical core aeration, as liquid solutions will simply run off the hardened surface.
Common Mistakes & Wasted Money
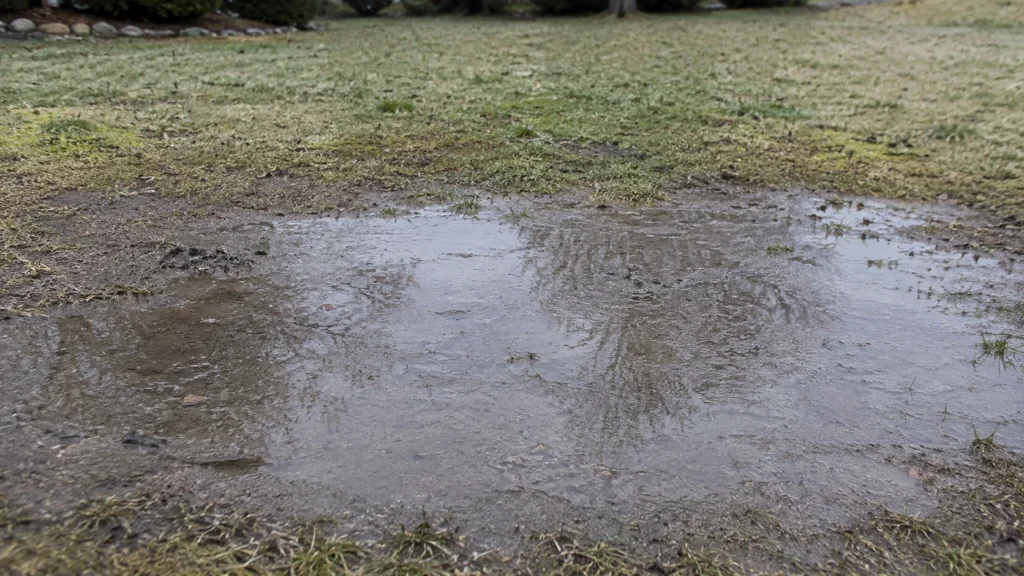
I’ve seen homeowners spray generic liquid aerants on hardpan Georgia clay for three seasons straight, only to end up with the exact same runoff issues and thinning grass. Liquid soil looseners are not snake oil, but treating them as a miracle cure for severely compacted soil is a guaranteed way to waste money. They lack the physical force required to break through a dense, heavily trafficked root zone.
Conversely, running a 250-pound mechanical core aerator over bone-dry soil is a massive physical mistake. The hollow tines will bounce right off the surface, jarring your spine and barely scratching the dirt. You end up paying a $75 daily rental fee for zero agronomic benefit. Another critical error is aerating during the peak heat of summer. Opening up the root system to 95°F air temperatures aggressively dries out the turf, inviting drought stress and immediate weed seed germination.
Required Tools & Materials
Your shopping list looks entirely different depending on the route you choose.
For Mechanical Core Aeration:
- Gas-powered walk-behind core aerator (typically rented at big-box hardware stores).
- Irrigation marking flags.
- Work gloves and steel-toe boots.
- Topdressing material (optional but recommended: compost or high-quality topsoil).
For Liquid Aeration:
- Liquid aerator concentrate (look for active ingredients like ammonium laureth sulfate, humic acid, and sea kelp). Brands like Covington or Simple Lawn Solutions are reliable.
- Hose-end sprayer (if the product doesn’t come in a ready-to-spray bottle).
- Standard garden hose reaching all corners of your yard.
Seasonal Timing & Conditions
Timing dictates success. For cool-season grasses like Kentucky Bluegrass, Fescue, or Ryegrass, early fall is the absolute best time for core aeration. The soil is still warm enough for recovery, but the air temperatures have dropped, and weed competition is low. You can also aerate in early spring, but you risk bringing dormant crabgrass seeds to the surface.
For warm-season turf like Bermudagrass, Zoysia, or St. Augustine, wait until late spring or early summer. You want the grass actively growing and pushing out runners to quickly fill in the holes left by the machine.
Liquid aeration is far more forgiving with timing. Because you aren’t physically ripping the turf, you can apply liquid looseners anytime during the active growing season, provided the ground isn’t frozen and temperatures are below 85°F to prevent rapid evaporation of the spray.
Pro-Tips Box: If you choose mechanical core aeration, apply exactly 1 inch of water to your lawn 24 hours before you fire up the machine. The tines need moist—not muddy—soil to penetrate the full 3 inches. Run the machine in a grid pattern: make one pass north to south, and a second pass east to west. This double-pass method maximizes soil relief and creates an ideal seedbed if you plan to overseed.
The Execution (Step-by-Step)
Method 1: Mechanical Core Aeration
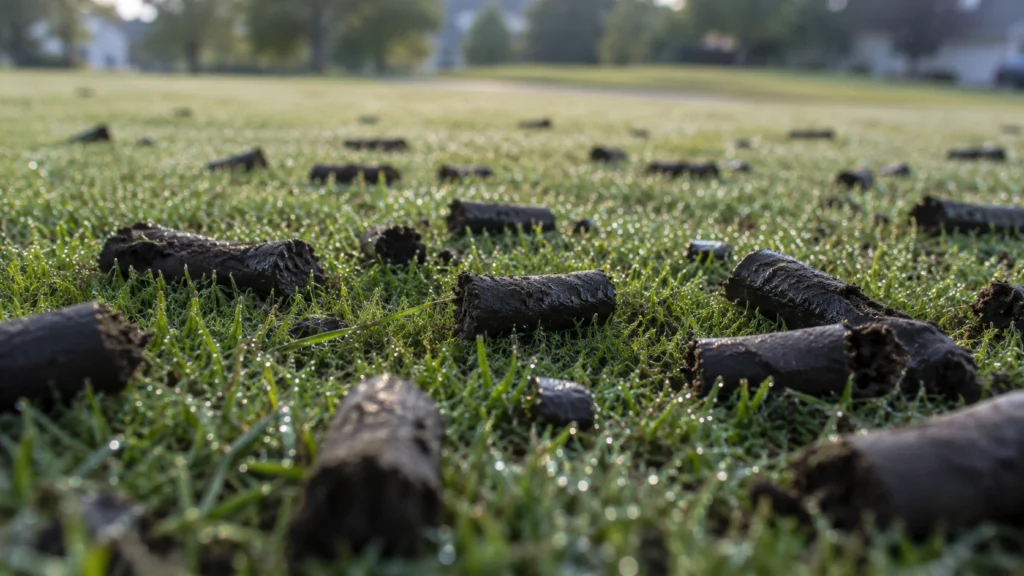
First, locate and mark every sprinkler head, valve box, and shallow dog fence wire with marking flags. Hitting a buried irrigation line with a mechanical tine instantly turns a cheap weekend project into a $400 repair bill. Start at the perimeter of your yard and work your way inward. Let the machine do the pulling; do not try to force it forward. Leave the soil plugs on the lawn. They look messy for a week, but they will naturally break down after a few rain cycles, returning valuable organic matter back to the root zone.
Method 2: Applying Liquid Soil Looseners
Read the label on your specific product to determine the application rate. Most commercial-grade liquid aerators require 4 to 8 ounces of product per 1,000 sq ft. Attach the bottle to your hose-end sprayer and turn on the water. Walk backward at a steady pace to avoid stepping on the freshly sprayed turf. Sweep the wand side to side, overlapping your passes slightly. Once applied, immediately run your irrigation system for 15 to 20 minutes to water the product deep into the soil profile where the active ingredients can begin breaking down the dense clay bonds.
Professional vs. DIY
| Feature | Liquid Aeration (DIY) | Core Aeration (DIY) | Core Aeration (Pro) |
| Cost | $30 – $50 | $70 – $100 (Rental) | $150 – $250+ |
| Speed/Effort | Fast, extremely low effort | Slow, highly exhausting | Fast, zero effort |
| Effectiveness | Low to moderate (maintenance) | High (immediate relief) | High (immediate relief) |
| Risk | Low (burning if over-applied) | High (property damage) | Low (pro assumes liability) |
Wrestling a gas-powered core aerator up a steep incline or maneuvering it around tight landscape beds is back-breaking work. These machines are incredibly heavy and unforgiving. If your yard has significant slopes or complex hardscaping, DIY core aeration becomes a serious safety hazard.
Hiring a local professional or a service like TruGreen often costs roughly the same as the daily rental fee of the machine plus the gas and the truck you need to transport it. A professional crew will typically be in and out of an average 5,000 sq ft yard in under 45 minutes. If your soil only needs mild maintenance, buying a $30 bottle of liquid aerator and spraying it yourself is incredibly cost-effective.
Pet & Child Safety Warnings
Always keep pets and children off the lawn during mechanical aeration to avoid injury from the heavy machinery. After applying liquid aeration products, observe the re-entry interval stated on the label. Most liquid soil looseners are safe for pets and kids once the product has been completely watered in and the grass blades are fully dry. This usually takes 2 to 4 hours, depending on sunlight and humidity.
Prevention Tips
- Vary your mowing patterns every week. Constantly driving the mower tires over the exact same tracks compacts the soil severely over a single season.
- Limit heavy foot traffic on dormant grass. Walking or parking vehicles on frozen or completely dry turf shatters the grass crowns and crushes the soil structure.
- Manage your thatch layer. A thatch buildup of more than 1/2 inch acts like a sponge, preventing water from reaching the soil and encouraging shallow root growth that mimics compaction stress.
People Also Ask
Can I use liquid aeration and core aeration together?
Yes. Combining them is a highly effective strategy for heavy clay soils. Perform mechanical core aeration first, then apply a liquid soil loosener to help break down the walls of the newly pulled holes and push nutrients deeper.
How long does liquid aeration take to work?
Liquid aeration does not provide instant results. You should expect to see improved drainage and deeper root growth within 45 to 60 days. Severe clay soils may require multiple applications spaced a few weeks apart.
Do liquid aerators really work on heavy clay?
They work as a maintenance tool, not a rescue treatment. The humic acid in liquid aerators helps condition clay over time by increasing microbial activity, but if the clay is already brick-hard, only mechanical aeration will physically open it up.
What to Read Next
Understanding the difference between the treatments is only half the battle; applying them at the correct time of year is what actually fixes your yard. Make sure you know exactly when should you aerate your lawn based on your grass type and regional climate before you rent any equipment.